
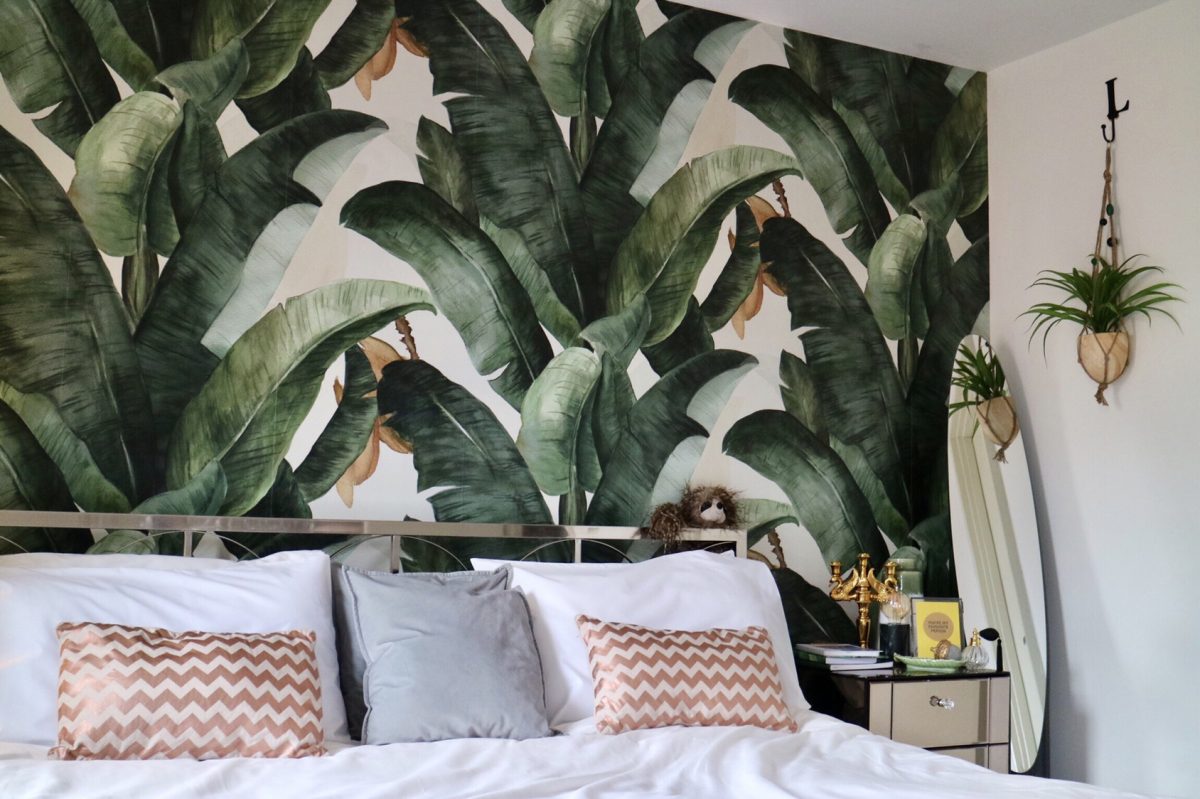
Ad. PR. We’ve been in our home for seven years now and I can’t believe it! Luckily my boredom with things after a few months does not extend to my house, it’s interiors or my husband. Lols. We’ve redecorated the lounge in coppers and greys you may remember, but mostly everything else has remained the same since the first decoration. So our bedroom was very silver, a bit blingy and not at all ‘me’. A change was due! So where to start!? We started a list of things we wanted to change over the new year break and when we returned to normality Photowall* had contacted me to collaborate with them so it was the perfect opportunity to create a feature wall for the room. I’ve wanted some kind of palm print wall for over a year now (spookily I was looking at my camera roll from February 2017 and lo behold there was a screen shot of palm paper on the 1st Feb!) so decided it was time to do it when I saw their Botany Banana Print*. Luckily Luke liked it too so we were straight on measuring the wall up!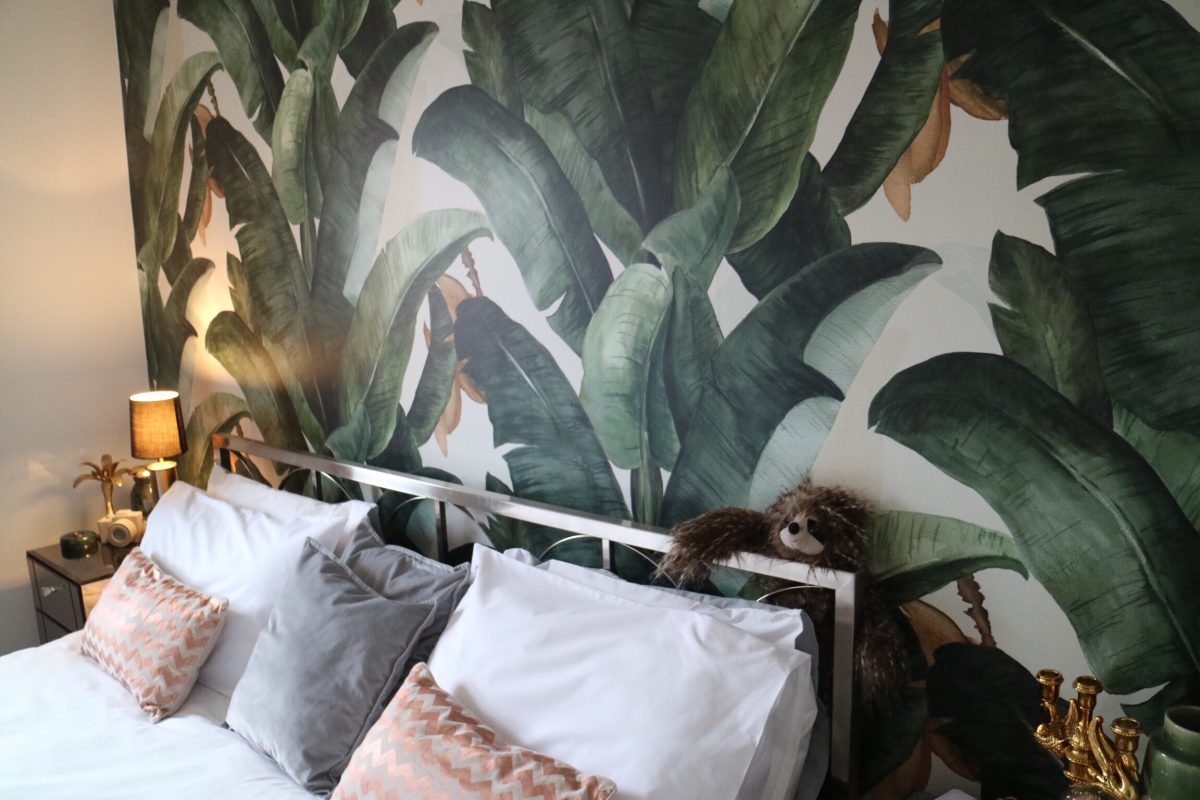
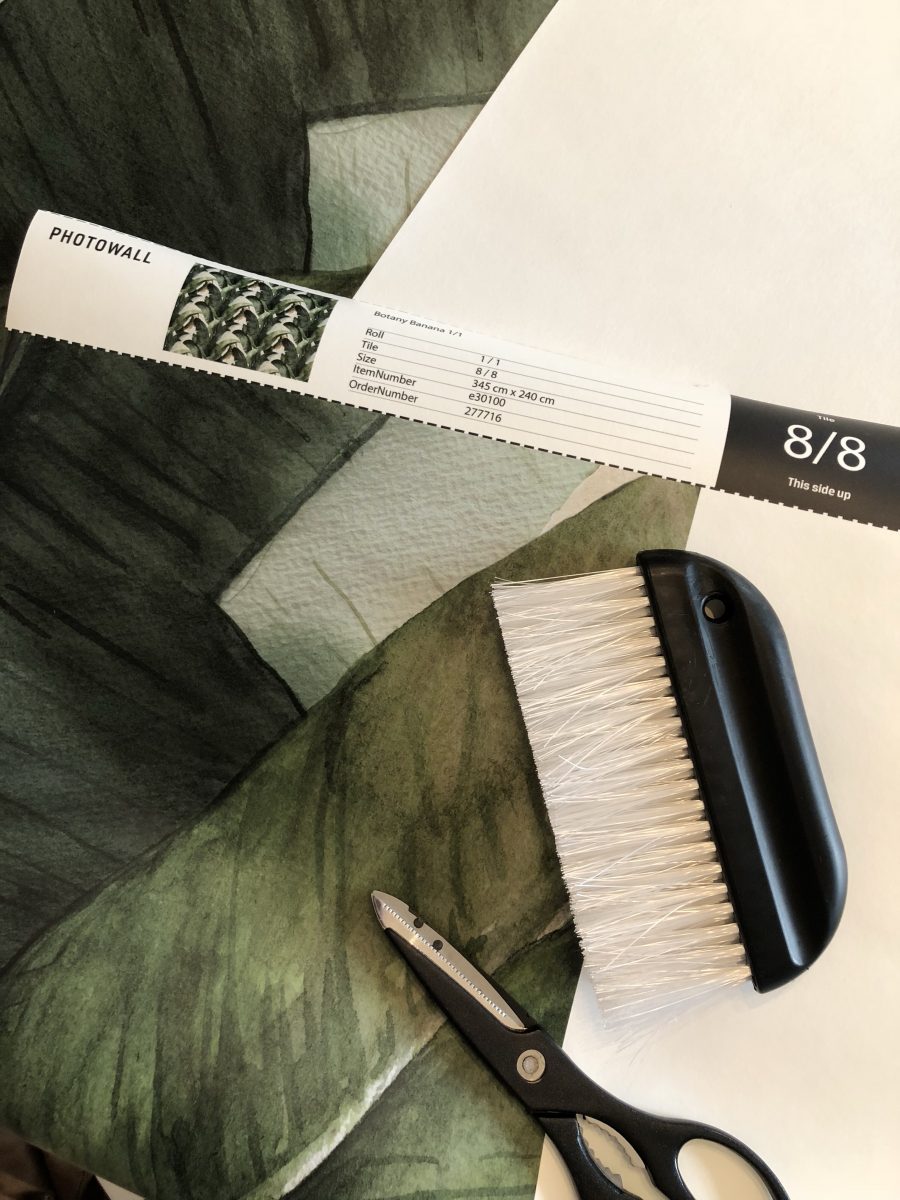
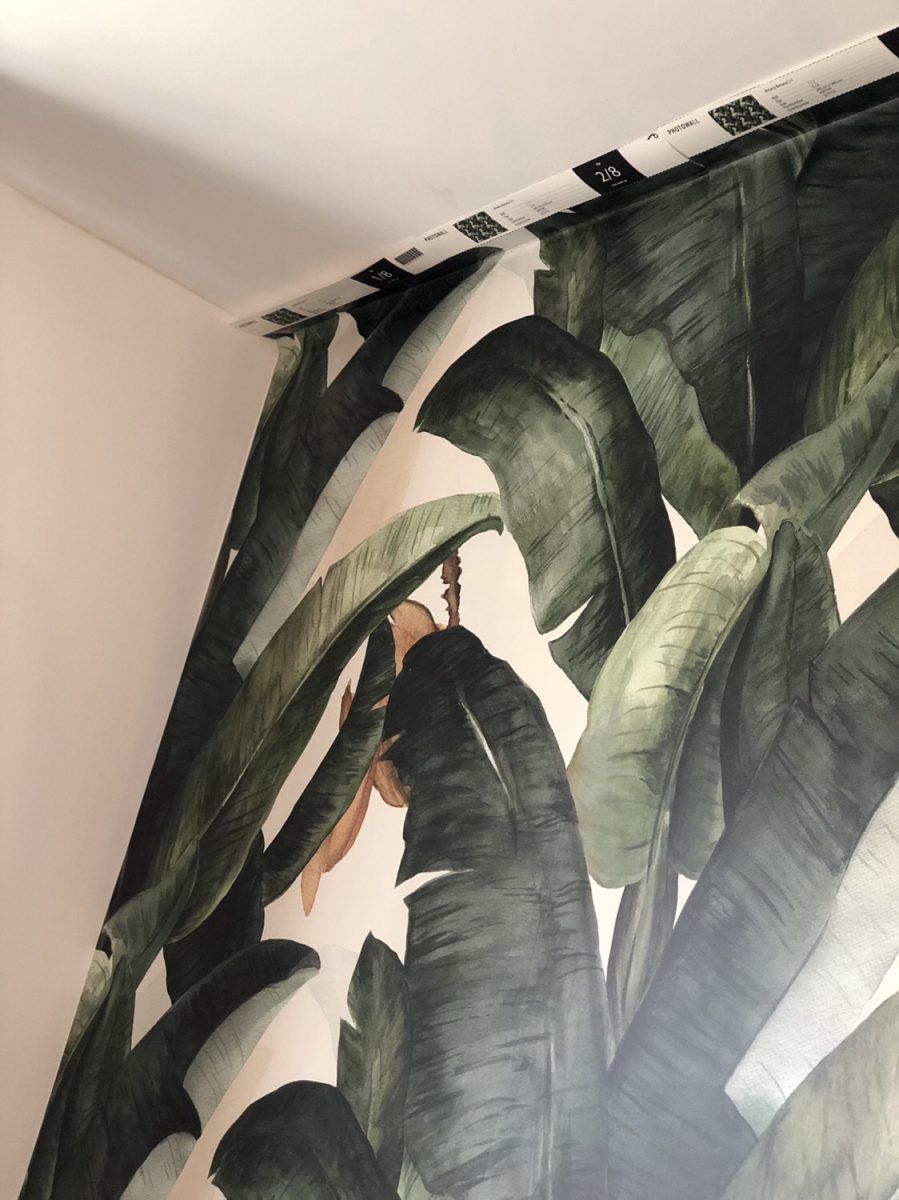


 It’s actually the most important bit of the process as get this wrong and you are scuppered! When it arrives it comes on one long roll printed just for you, with panel numbers showing which order to implement them, the end panel was even just printed to the edge of where we had measured (and the rest left blank) so it fit perfectly on the wall, if I did it again I’d be tempted to allow a few more cms on a repeating pattern like this as it doesn’t matter if you cut off more. But you can have your own photos printed as wall art too so that kind of thing would have to be more exact!
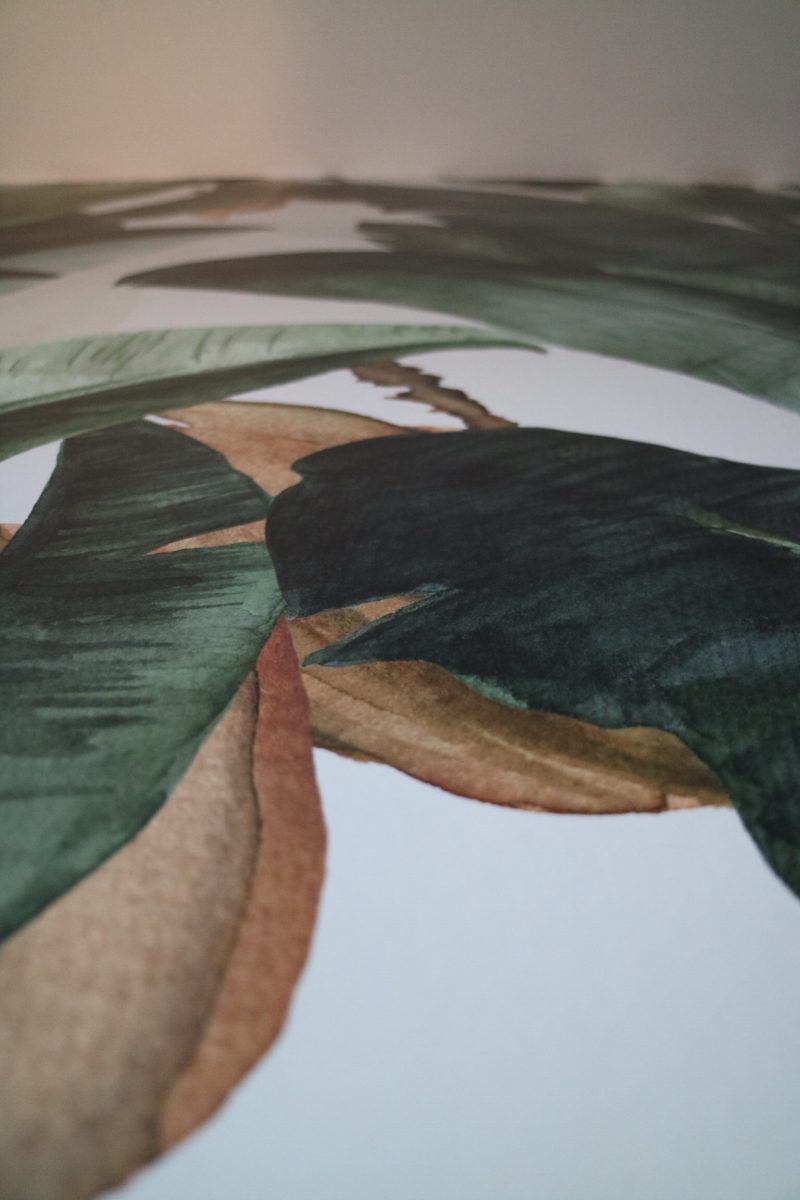


We went for the premium wallpaper and it was such good quality and thickness I’d definitely recommend going for that, I’ve taken some close ups so you can see- my parents were really impressed with it when I showed them and after having lots of experience with wall coverings I consider that a co-sign! Both types comes with paste which looks like gaviscon when mixed up but helps as you can see where you have applied the paste onto the wall as you do it. I much prefer paste the wall over paste the paper as that ends up very messy! I’d like to say I helped lots with this but turns out my skill is removing wallpaper so wasn’t much help after we’d taken off triple beige stripe paper so just cut off each length and helped getting the paper onto the wall. Like could have easily done it all by himself and this took about 2 hours from mixing the paste to cutting off the excess. Considering it took us a whole day to do the spare room then this is much better!
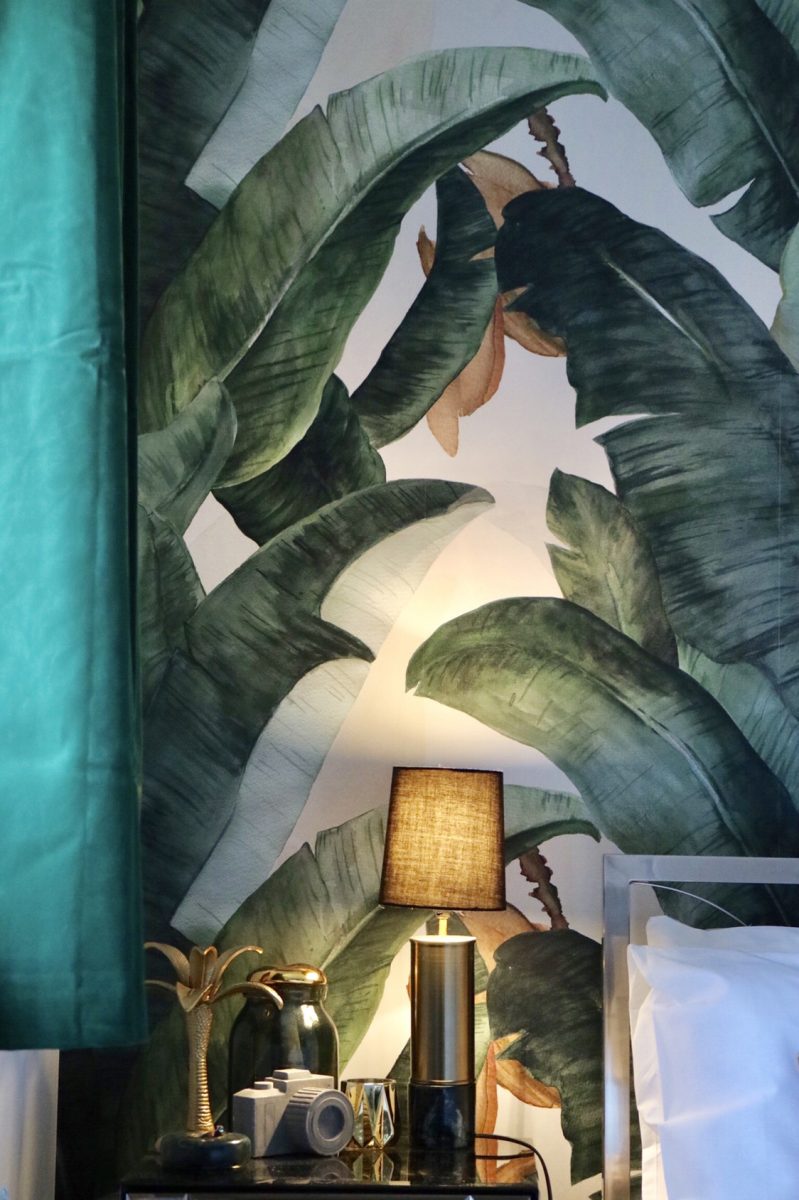
This kind of size wall comes up at about £250 to buy in premium thickness but does look absolutely stunning as you can see. You can also get your own photo printed in most sizes and on canvases too which are a little more manageable than a full on statement wall!
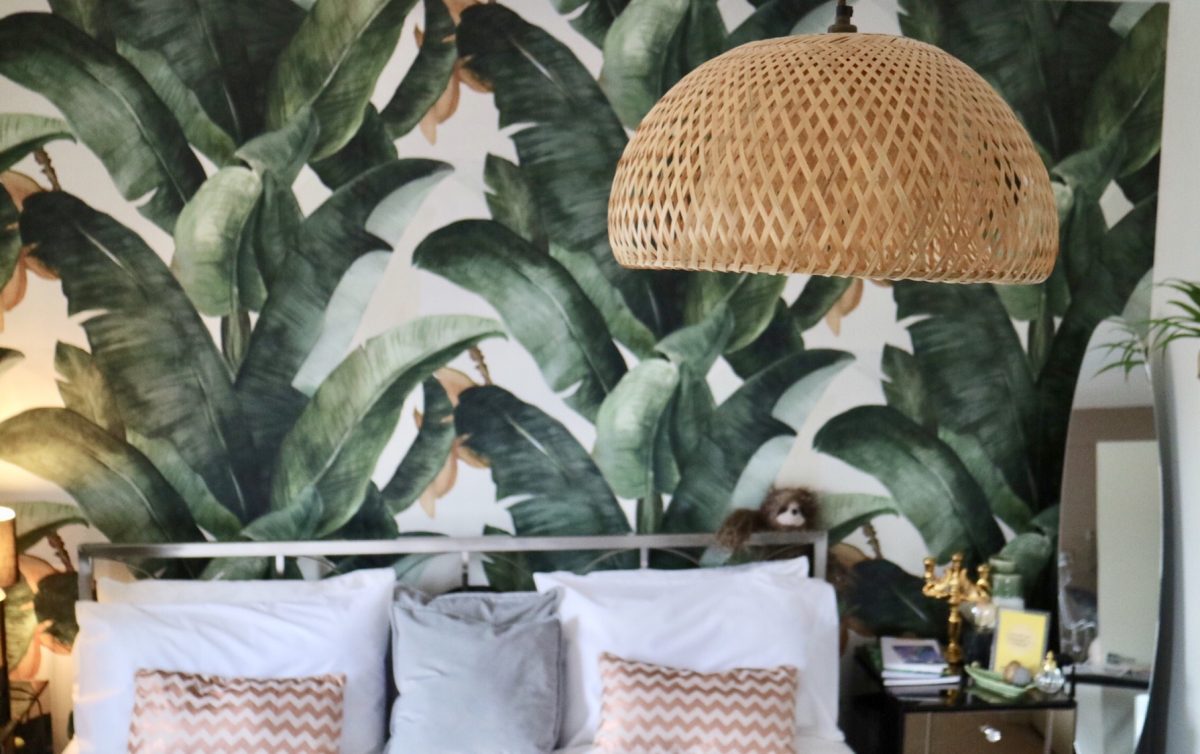
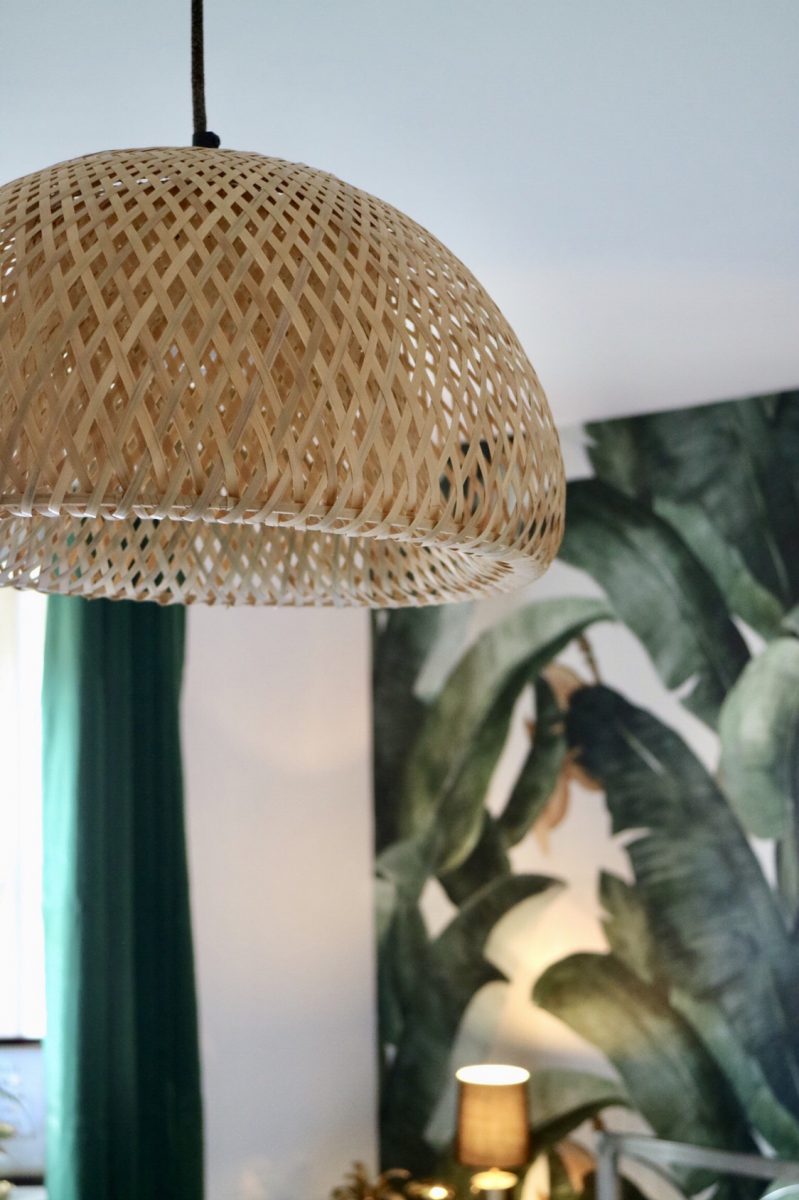
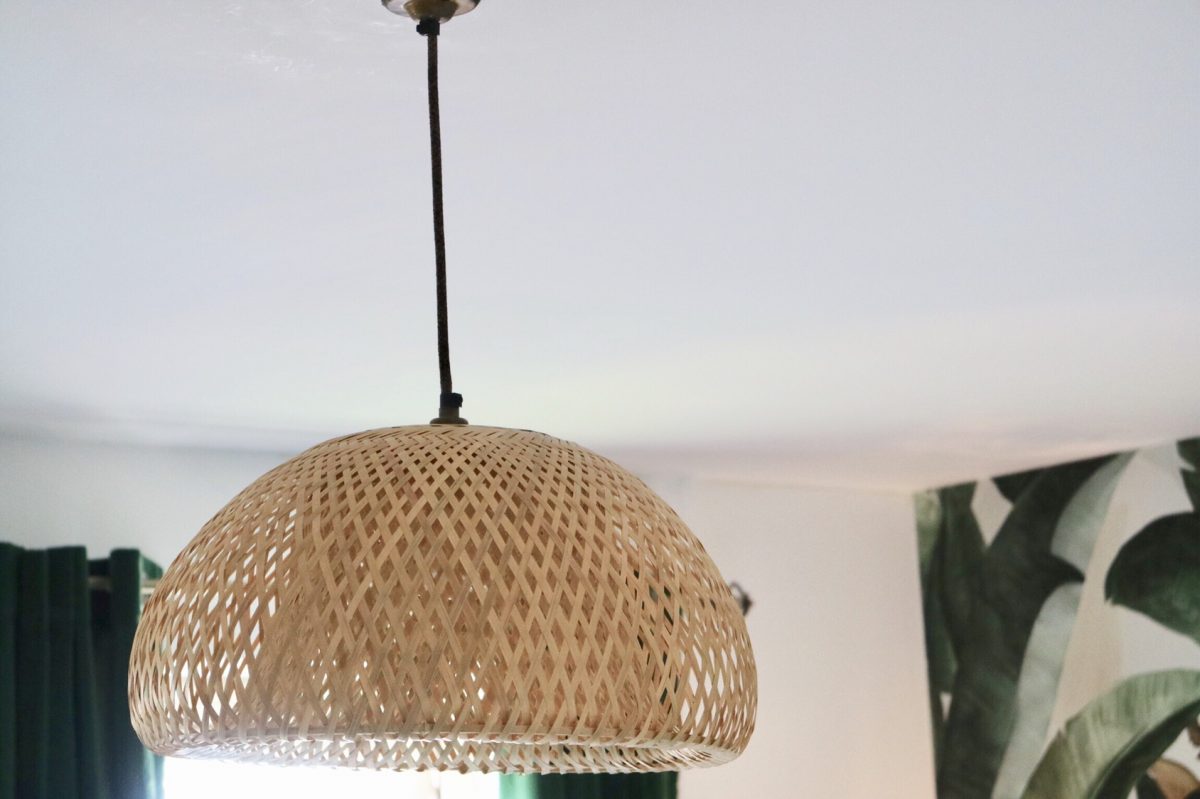
 Now we’ve got this amazing wall I couldn’t be happier but it also prompted changing a LOT more which is why I’ve split this into a series of posts: walls and ceilings, soft furnishings and accessories. Ceilings I hear you cry? This is where the light came in. It was a silver wire chandelier, not very jungle,leafy vibe is it? So I picked up this light shade from a Marks and Spencer Outlet for just £19 in the sale (was around £50 in the first place) and treated ourselves to gorgeous Dowsing and Reynolds ceiling rose and light fitting in smoked gold at Elle’s recommendation, paired with Old Brown Jumper Cable . I recommend trying out their Customise Your Light feature where you can pair each component and see what it will look like before it’s made up, and you can opt for it all to be wired up ready to go for you!
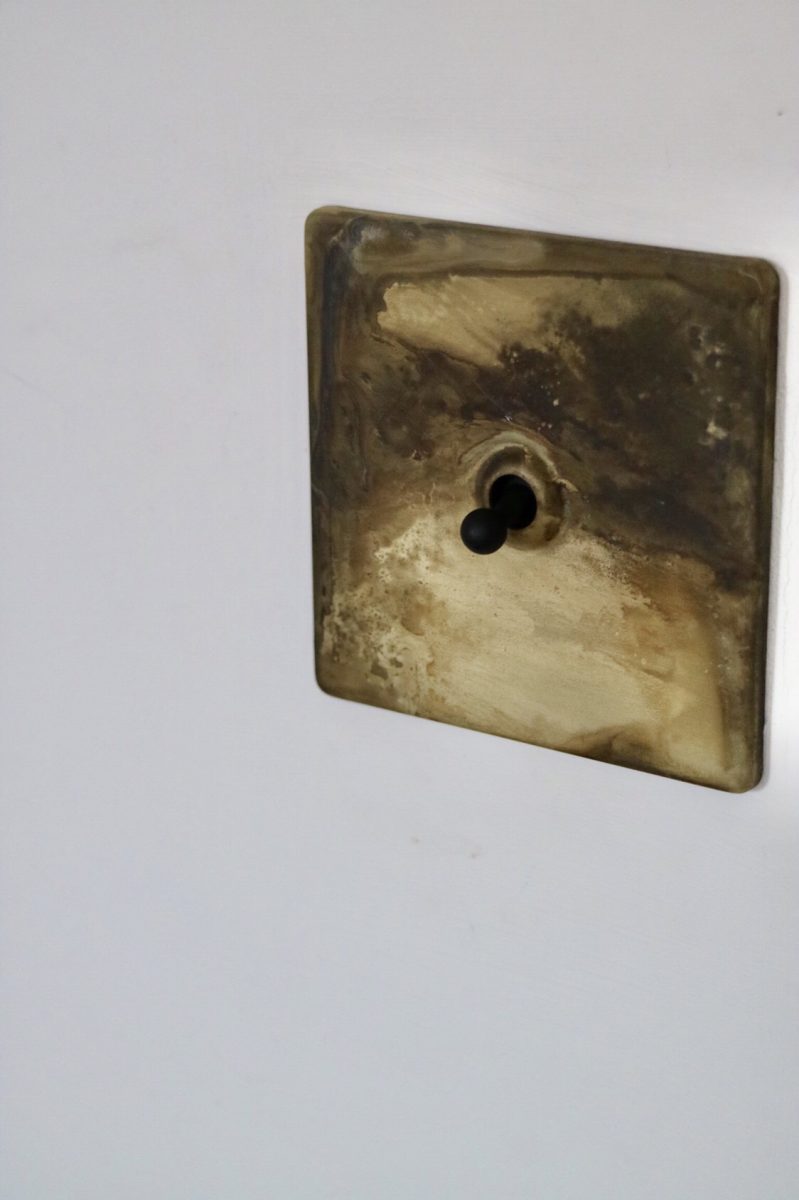
Of course had to treat ourselves to the smoked gold toggle light switch to match! However we didn’t think about the ensuite light-switch about a metre to the left of this so it’s still there in its ugly plastic form! I tried not to capture it in these shots of course as it really does stand out now.


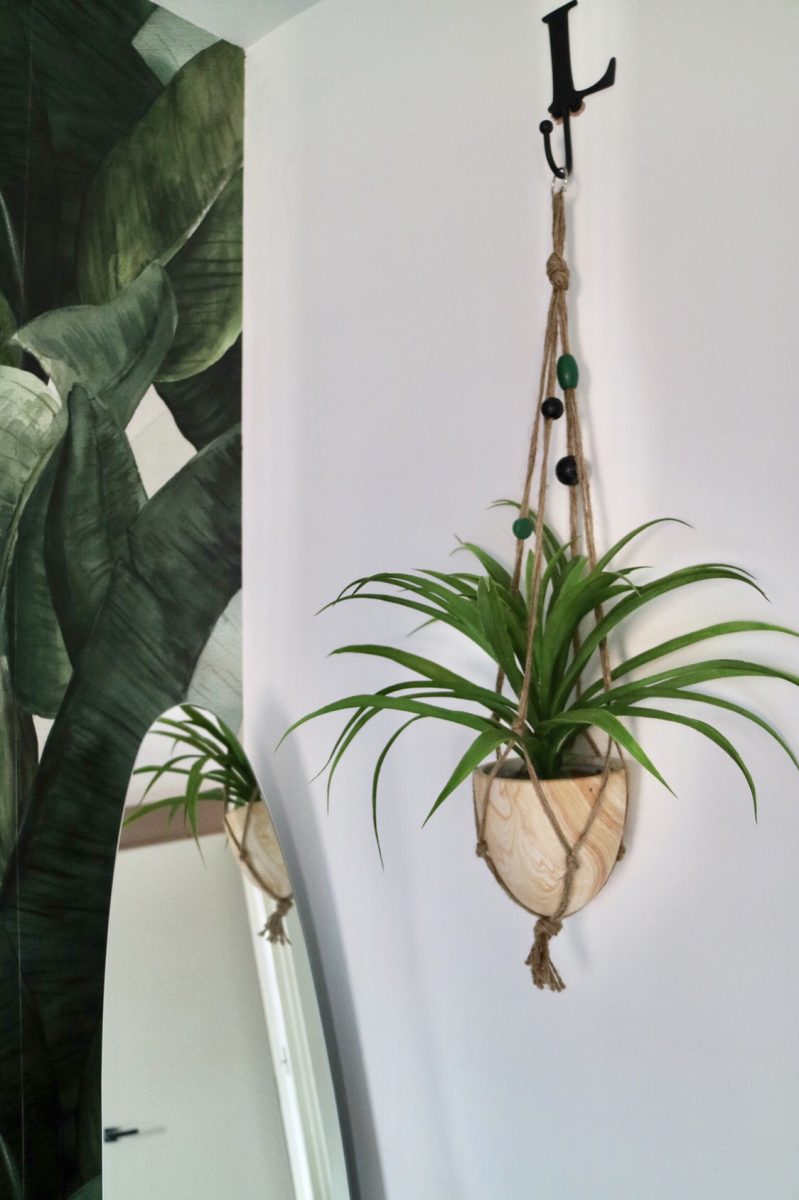
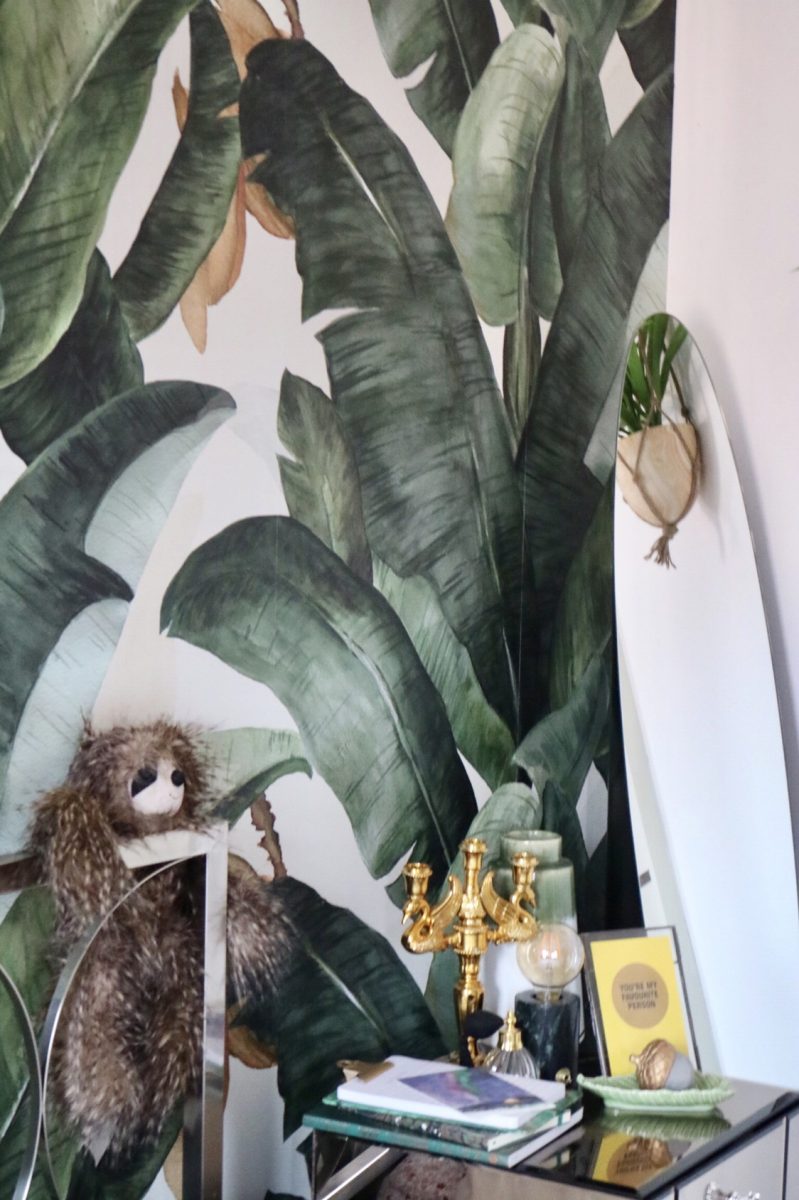
I used to have my wedding dress hanging on the wall but it just didn’t fit in with this decor anymore, but I kept the L hook and decided to hang a plant from it. When my friend was looking to go to a DIY class I immediately suggested a macrame class and we found ourselves at The Bowery in Leeds at their Drink and Do class for a macrame plant hanger! It cost just over £13 and included the materials used – plus you can take your own drink along for a fun Friday night! I think this fake plant I picked up locally looks fab swinging away in it!

 I’m still on the look out for a large print to go on the wall between the windows so any suggestions are welcome- I’m thinking typography of some form or something a bit abstract! For now though I’ll just be found staring at my amazing wall- would you or do you have a bold feature wall in any of your rooms?
*Indicates product provided for consideration of review. As always words and opinions are my own!