After my glam pics! from Wireless I’ve had lots of compliments on the floral crown I had on, I thought I might get some of you asking how to make it so I’ve put a step by step tutorial to try and show how
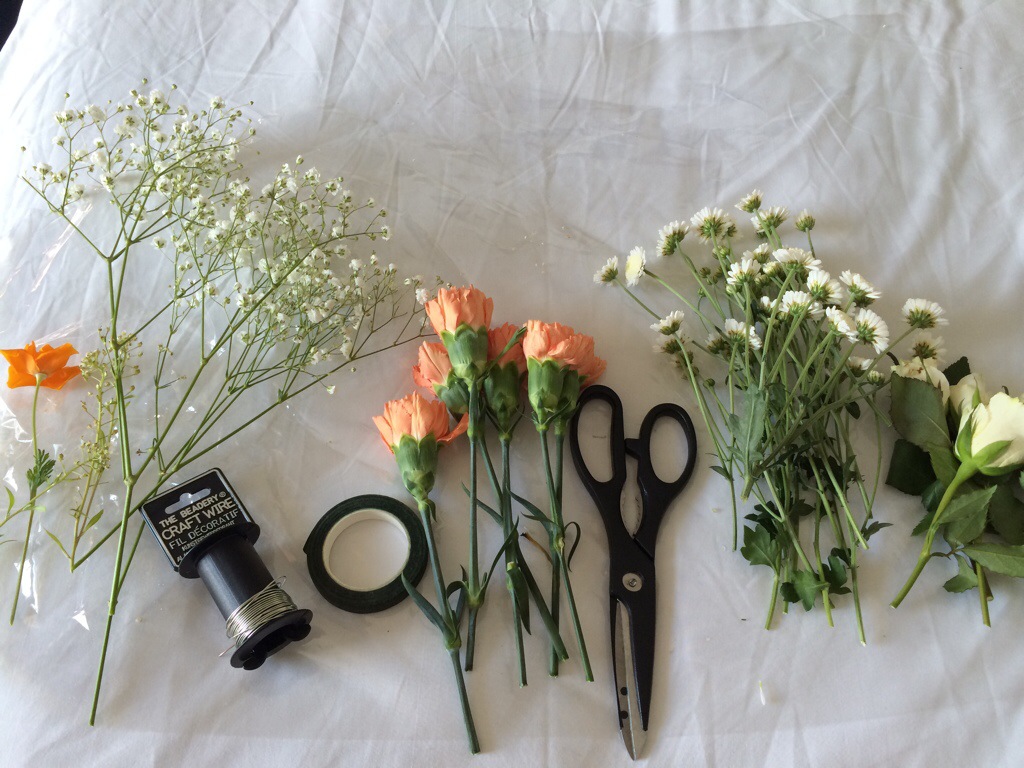
What you will need:
Flowers (no, really?!!)
Florists Tape (Wilkinsons under £1.50)
Scissors
Wire (I recommend Florist wire from Hobby craft, it’s about £6, but will make loads!)

I chose my flowers based on my outfit, the mini white flowers and gypsophelia were from my local florists (£2) and the carnations and sweetheart roses from ASDA (£2 and £2.50). Tip: Try and choose a variation of sizes and texture to give the crown a bit of interest.
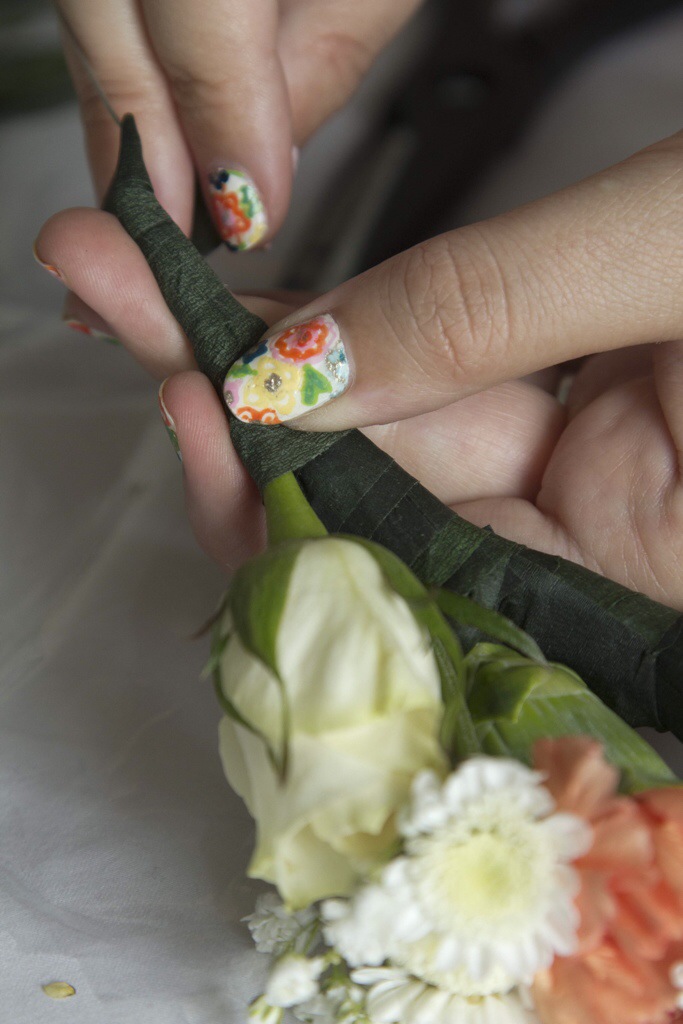
I already had the tape but did end up using electrical tape to keep it more secure!
Take the wire and measure it around your head and allow for excess (about 3 inch each side), and cut it.
For a half crown like this establish where you want the flowers to start from, I went from ear to ear, and make a kink to mark it.
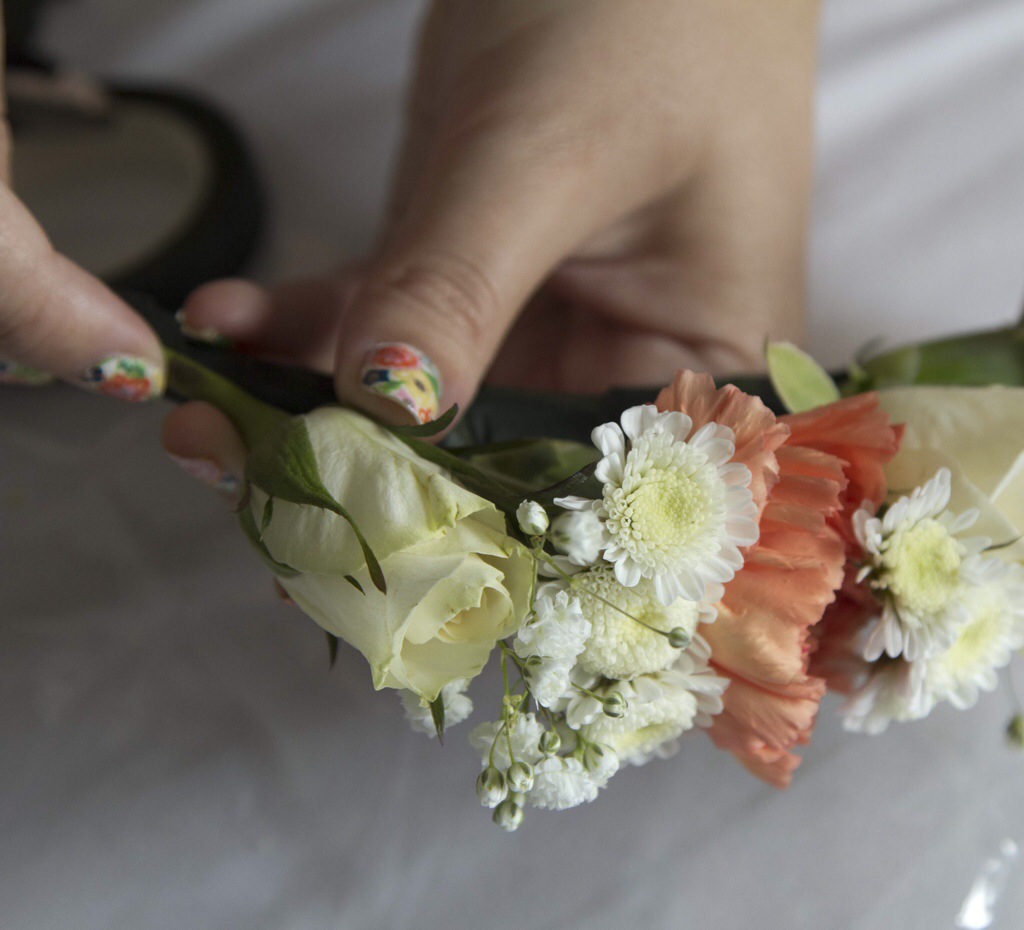
Cut the flowers down to the size shown above. Starting at the kink lay your starting flower across the wire facing one way.
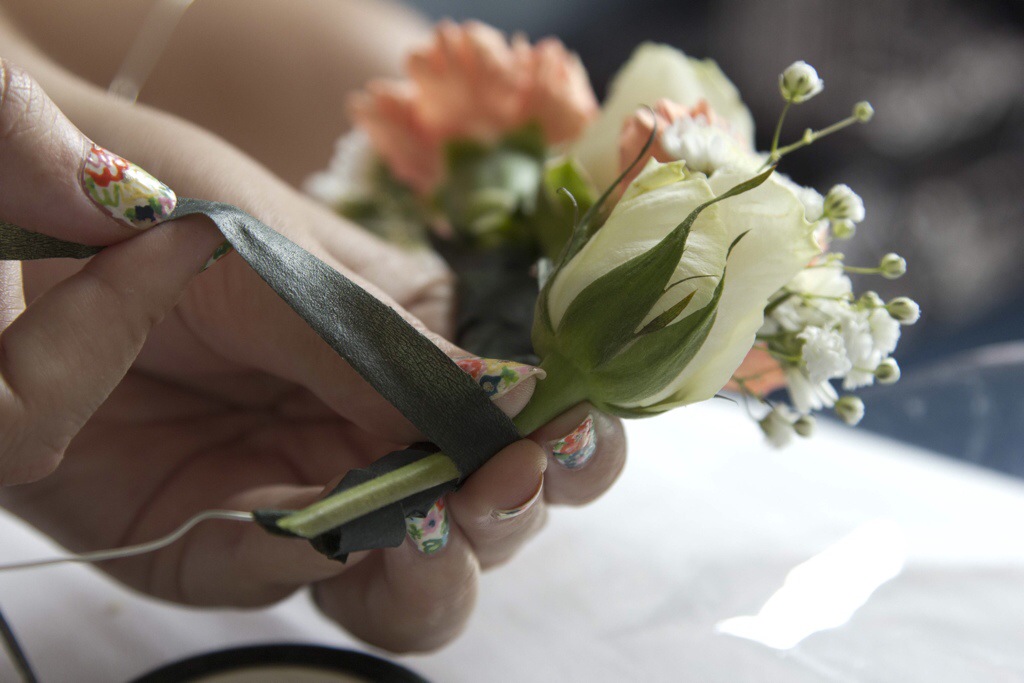
Wrap the flower stem together with the wire using the tape.
Repeat until all the flowers are on! I recommend laying it on your head as you build so it’s the size you want.
Once you’re happy it’s time to wear!
Position it on I also part my hair so the wires are hidden underneath, twist the two wires together and pull opposite then twist again. Cut off excess keeping am inch or two on the wire and tuck the ends under and up the sides.

And in true Blue Peter style here’s one I made earlier (well, infact later haha!)
Doesn’t Jenna from Hepcat Blogs look lovely!
I’d love to know if you attempt to make one so share with me on twitter if you do!


